
DIY Tips for a Successful Bathroom Renovation: From Planning to Execution

Renovating your bathroom can be an exciting yet daunting task. Whether you're aiming for a simple refresh or a complete overhaul, having a clear plan is crucial to ensure a smooth renovation process. In this blog post, we'll guide you through some essential DIY tips for a successful bathroom renovation, from planning to execution.
Planning Your Renovation
The first step in any successful renovation is thorough planning. Start by assessing your current bathroom layout and identifying what needs to change. Consider what you like and dislike about the current space and how you envision your new bathroom. Setting a clear budget is also critical, as it will guide your decisions on materials and fixtures.

Next, create a timeline. Determine how long each phase of the renovation will take and plan accordingly. Be realistic about the time required, especially if you’re doing it yourself. This will help you manage your expectations and avoid unnecessary stress.
Choosing Materials and Fixtures
Once you have a clear plan and budget, you can start selecting materials and fixtures. Consider durable and water-resistant options for flooring and walls, such as ceramic tiles or vinyl. When choosing fixtures like sinks, toilets, and bathtubs, ensure they fit the overall design and functionality you desire.
Don’t forget about the small details like faucets, mirrors, and lighting. These elements can greatly impact the look and feel of your bathroom. Opt for energy-efficient lighting and water-saving fixtures to enhance sustainability.
Executing the Renovation
With your plan and materials ready, it's time to start the actual renovation. Begin with the demolition phase, removing old fixtures and tiles. Make sure to handle this step carefully to avoid damaging underlying structures.

Once the demolition is complete, proceed with the installation of new plumbing and electrical work if needed. It might be wise to consult professionals for these tasks to ensure everything is up to code and safe.
Installing New Features
After the essential systems are in place, you can start installing new features like flooring, tiles, and fixtures. Follow manufacturer instructions carefully and take your time to ensure everything is properly aligned and secured.
Pay special attention to sealing and grouting tiles to prevent water damage. Proper sealing will enhance the longevity and appearance of your new bathroom.
Finishing Touches
The final step in your renovation is adding finishing touches. Paint the walls with moisture-resistant paint, and install accessories like towel bars, shelves, and decorative items. These elements will add personality and functionality to your space.
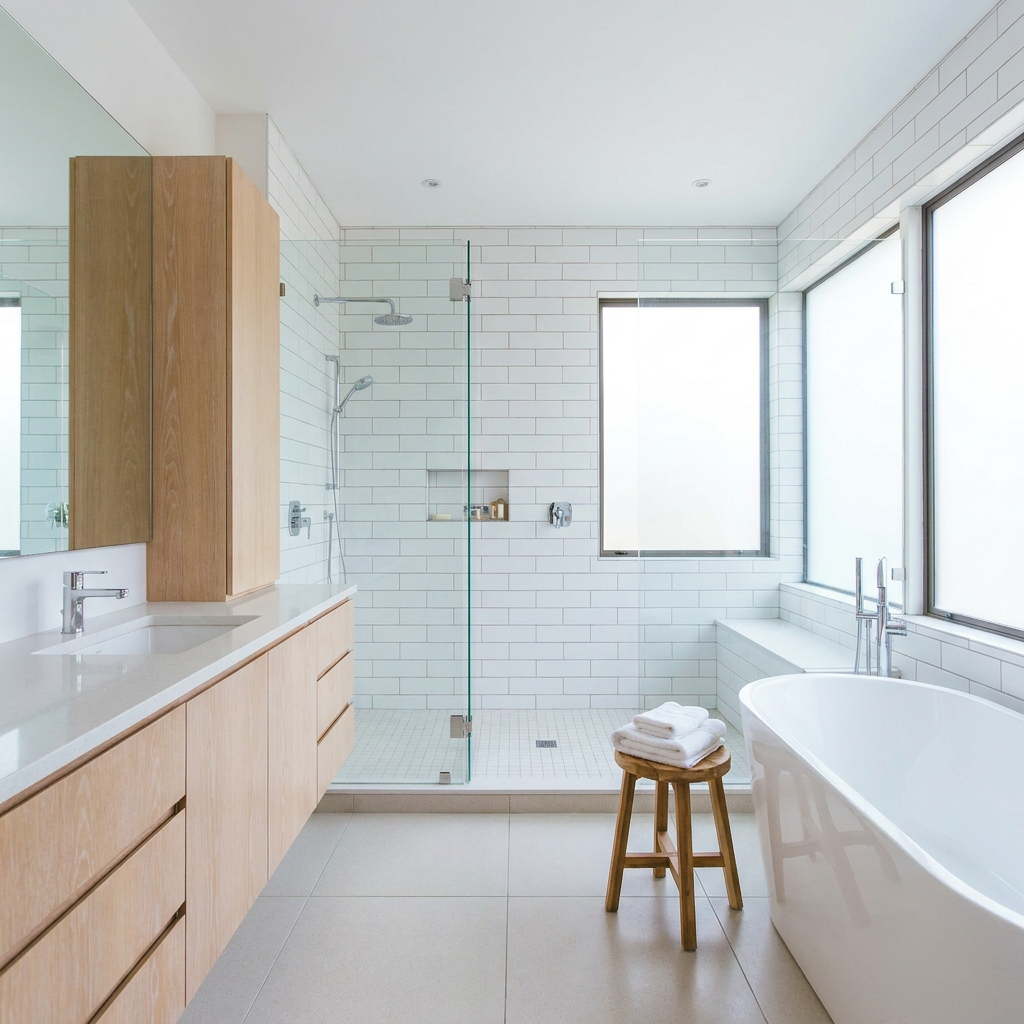
Finally, perform a thorough cleaning to remove any dust or debris left from the renovation process. Step back and admire your hard work and enjoy your refreshed, functional bathroom space.
By following these DIY tips, you can achieve a successful bathroom renovation that meets your needs and enhances your home's value. Remember, careful planning and attention to detail are key to a smooth and rewarding renovation experience.